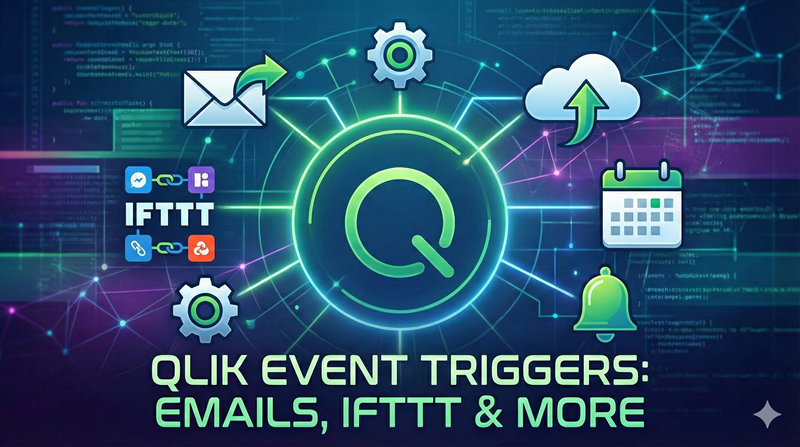
Webhooks are a glue that can hold many different services together. This post shows how they can be used to call IFTTT from the Qlik load script, which then opens up a whole world of possibilities, such as writing to a Google Sheet.
So, Why Use IFTTT With Qlik Sense?
In my previous blog post I showed how to create an app to monitor Qlik analyzer capacity licence usage in Qlik Cloud. My favourite response to the last post was from Tom Wittig, who said he had five clients needing the app.

That got me thinking, what if you have many sites to keep an eye on in Qlik SaaS? You would want to take the information from each site, place it into a common repository and then build an app over that. But how?
There are plenty of methods for storing files out, but this would require a shared DropBox or Google Drive, between clients, or many clients’ accounts linked to by the partner. Neither of these approaches feels like a good idea. Pushing just the data that is required via a one way service that can then store the data would be ideal.

Using a combination of the REST connector, Webhooks, If This Then That and Google Sheets it is simple to achieve this.I did a previous post on using Webhooks to start a Sonos playlist when a new customer is obtained, but this is a more practical application of the same technique.
Signing Up For An IFTTT Account
If This Then That allows you to connect all of the various services you have and get them talking to each other. It’s well worth taking a look through the various example applets that they have available. If you have an account already you will know this. If not, it is simple and quick to create one and get started.
Head along to https://ifttt.com/, here you can sign up with an email address or an Apple, Google or Facebook account. As we’re going to be using Google Sheets I’m going to use a Google account, you can take your pick though.

Creating the IFTTT Applet
Once you have signed up or signed in you will get to the main IFTTT page. You may want to take the time to take a look around, or you can just crack on and click the Create button.
![]()
As the name suggests, basic apps all consist of a trigger (If This) and an action (Then That), click the Add button to set up the If

First you need to chose the service that you will use for the trigger. Search for and select Webhooks

Many of the services will have lots of different options here, but Webhooks just have one simple action – receive a web request. Click this.
Pretty much every service will require a connection to that service, this is true of Webhooks, so click the Connect button to do this. Most services will then require credentials (as you will see when we connect to Google Sheets in a moment), but Webhooks will just create the connection for you.
You will then be prompted to create a trigger, which you need to name. This name will be used when you call the Webhook, and it will be available when we create the event caused by the Webhook. Make sure you take a note of this name.

When the name has been provided click the Create Trigger button.
With the trigger created you can now click the Add button for the action.
Now you need to search for and select Google Sheets.

From here select Add Row To Spreadsheet. Again you will need to connect to the service, do this by clicking the Connect button. A popup will appear where you can sign into your Google account and authenticate IFTTT to work with it.
There are lots of other endpoints that you can use to write to, such as Slack, Twitter and Gmail. Choose and configure the one that best suits you.
For a Google Sheet you need to provide the name of the spreadsheet (clear the default one first) enter the values to enter into each cell of the spreadsheet (defaults here are fine) and specify which folder in your Google Drive you would like the spreadsheet to reside. Click Create Action when done.

That has now created the applet and you can click Continue.
Using The New Applet
After clicking continue you will be shown the default name for the applet. This will be a description of what it does. You can swap this for a more useful name if you like. Click the Finish button when you are happy with the name.
The applet is now present and working, but the issue is that you won’t know how to call it. Click on the Webhooks icon above the to the configuration screen.
![]()
From that screen click the Documentation button at the top right of the screen. This will take you to a screen where you can test your Webhook.
Replace the text {event} with the event name that you used when setting up the trigger. Enter some values into the three value text boxes and click Test It.

You will need to copy the Trigger URL to a safe place to be able to use it later, this is the one that looks like this:
https://maker.ifttt.com/trigger/capacity_usage/with/key/ABCDE1234567890
Once the test has been fired you should be able to go and find the spreadsheet, but I have noticed it can take a few minutes to appear.
Plumbing The Webhook Into The App
To use this Webhook with the Capacity Licence checking app I made available last week you will need to download it from here. To plumb it into another app you will need to put the values you want to send into variables in your load script.
To call the URL you will need a REST connection set up, as described in the previous blog post. This can point to any URL, as we are going to change it using WITH CONNECTION, I typically use https://jsonplaceholder.typicode.com/posts for this purpose. Give the connection the name GenericGET.
You then just need to add the following code after the point where the variables are set:
// Send details to a Webhook
LIB CONNECT TO 'GenericGET';
SET errormode = 0;
SendResults:
SQL SELECT
"col_1"
FROM CSV (header off, delimiter ",", quote """") "CSV_source"
WITH CONNECTION (
URL "https://maker.ifttt.com/trigger/capacity_usage/with/key/ABCDE1234567890?value1=$(vUsed)&value2=$(vRunRate)&value3=$(vAvailable)");
SET errormode = 1;
Obviously the key part of the URL will need to change to be your own personal Webhook key that you copied above. You will also need to ensure that the trigger name matches the one you gave when creating the trigger. The URL copied in the test step above didn’t have any parameters, as these were passed in the body of the GET request. You will need to manually type the three parameters to the URL and inject variable values created earlier in the script.
Once the load script has run you can check the result from the call of the Webhook by checking the col_1 field in Analyze mode in Sense.
You should now have a new row in your spreadsheet with the values you specified in:

As you can see you can insert a row which has headers and new rows will simply be appended to the end. If you have multiple Webhooks appending to the same spreadsheet you just need to ensure that you have a value in a column which shows which numbers have come from where.
Webhooks are a great way to ping small amounts of data between different services, and it is something which is going to be more closely integrated into Sense in future with blendr.io. You can start using them straight away though, from your load scripts.
Please let me know how you get on with them in the comments below.


Leave A Comment